2K UHS clear coat: film build, coats, flash-off and curing
A well-laid UHS clear means a panel that comes out of the booth with good flow and gloss, and never comes back to the shop. Get it wrong and it runs, it boils or it stays soft for three days. Here's how we go about it day to day to get it right.
UHS, HS, MS: what very high solids actually changes
UHS stands for Ultra High Solids. In practice, there's more resin and less solvent in the tin than in an older-generation MS or HS clear. The film you lay down is therefore thicker with every pass, it builds better and flows out more easily. It's also what lets manufacturers stay within VOC limits without sacrificing appearance.
The flip side is that a UHS is less forgiving of overloading. With an old MS clear, you could load up the second coat without much worry. With a UHS, the same heavy hand gives you a run on the bonnet edge or solvent boil during curing, because the remaining solvent can no longer escape from a film that's too thick. So you have to relearn how to control your application, especially if you're coming from another system.
Preparing the mix and the gun
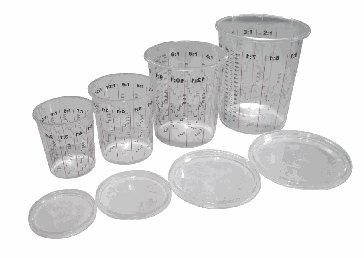
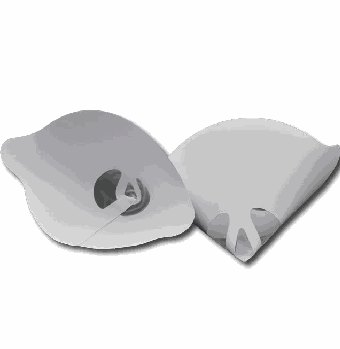
The mixing ratio comes from the technical data sheet, not from habit. Many UHS clears are activated at 2:1 by volume, others at 3:1, and the amount of thinner depends on the temperature. Mix in a graduated cup or on scales, mix properly (a good minute with a stirrer, scraping the bottom and sides), then strain it as you pour it into the gun cup.
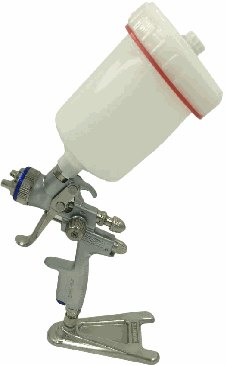
As for the gun, a 1.3 mm tip suits most clears with HVLP. Set the inlet pressure with a gauge at the gun, trigger pulled, following the gun manufacturer's instructions; for many HVLP guns you'll be around 2 bar. Do a test spray on masking paper: an even oval pattern, with no large droplets in the centre and no dry edges, is the starting point. If the gun spits, don't compensate by turning up the pressure — look for a poorly strained cup or a dirty tip instead.
How many coats and what film build to aim for
The most common method with a UHS is two coats: a first closed coat that isn't too heavy, then a full coat. Some clears can also be applied as one and a half coats, meaning a light pass followed immediately by a full pass, with no flash-off in between. Once again, the product's technical data sheet tells you which method it's designed for.
In dry film thickness, you're generally aiming for 50 to 60 µm of clear over a basecoat. Below 40 µm, polishing becomes risky and UV resistance suffers. Above 70 or 80 µm, you're exposing yourself to runs, solvent boil and a much longer through-cure. Checking a test panel with an induction thickness gauge now and then beats any judgement by eye.
For gun speed, keep the same distance from one end of the panel to the other, generally 15 to 20 cm with HVLP, and an overlap of about half between passes. On a full vehicle, start with the roof, work downwards and keep a wet edge: that's what prevents dry, sandy-looking areas on large panels.
Flash-off, the time everyone wants to cut short
Between coats, you need to let some of the solvent evaporate. The right check is the finger test on the masking tape: the clear still strings a little but no longer really sticks to the glove. At 20 °C, you'll often allow 5 to 10 minutes between coats for a UHS — less if the booth has strong airflow, more if it's cool.
Before starting the bake, you also allow a final flash-off, often 5 to 10 minutes. If you raise the temperature too early, the surface skins over while solvent is still trapped underneath. The result: micro-bubbles, craters, or a clear that wrinkles when you polish it. It's the classic end-of-day defect, when you want to get everything out before going home.
Curing: booth, infrared or air dry
In a booth, common practice is a bake at around 60 °C metal temperature for about 30 minutes, once the booth is up to temperature. Watch the difference between the booth air and the metal: on a thick part or a cold vehicle brought in from the car park in winter, the panel takes a while to reach the set temperature.
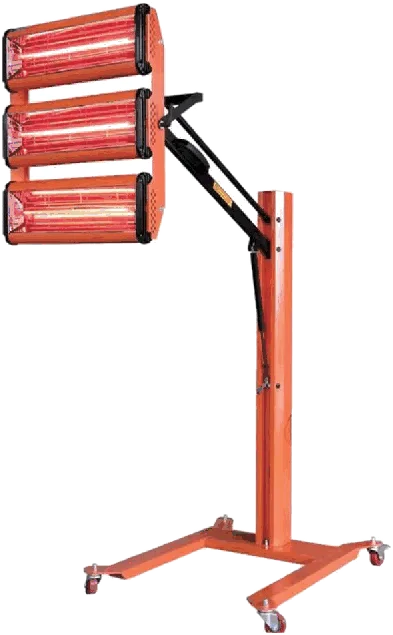
For a spot repair, short-wave infrared saves a lot of time because it heats the film right through. Stick to the distance and power recommended for the lamp, start at reduced power during flash-off, then switch to full power. Without a booth or a lamp, a UHS will air dry, but allow overnight at 20 °C before handling, and longer before polishing.
One last point that often gets overlooked: the temperature of the product itself. A tin stored in a room at 8 °C sprays badly, even in a heated booth. Bring your products in the day before.
The most common defects and their causes
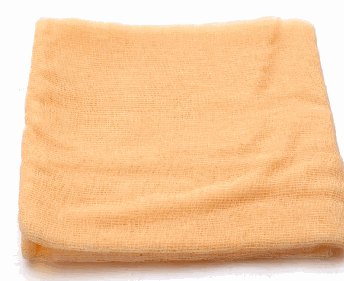
A run almost always comes from a coat that's too heavy, a gun distance that's too short or a flash-off that's too short. Pronounced orange peel comes from pressure that's too low, a clear that's too thick for the temperature or a gun distance that's too long. A dull finish after curing can point to the wrong hardener, an incorrect mix or moisture. As for dirt nibs, they rarely come from the clear: tack rags, an anti-static paint suit and clean booth filters sort out most cases.
- Runs: too much product or flash-off too short
- Orange peel: low pressure or mix too viscous
- Solvent boil: bake started too early or film too thick
- Dirt nibs: surface prep and the painter's clothing
The Humming clear coat system
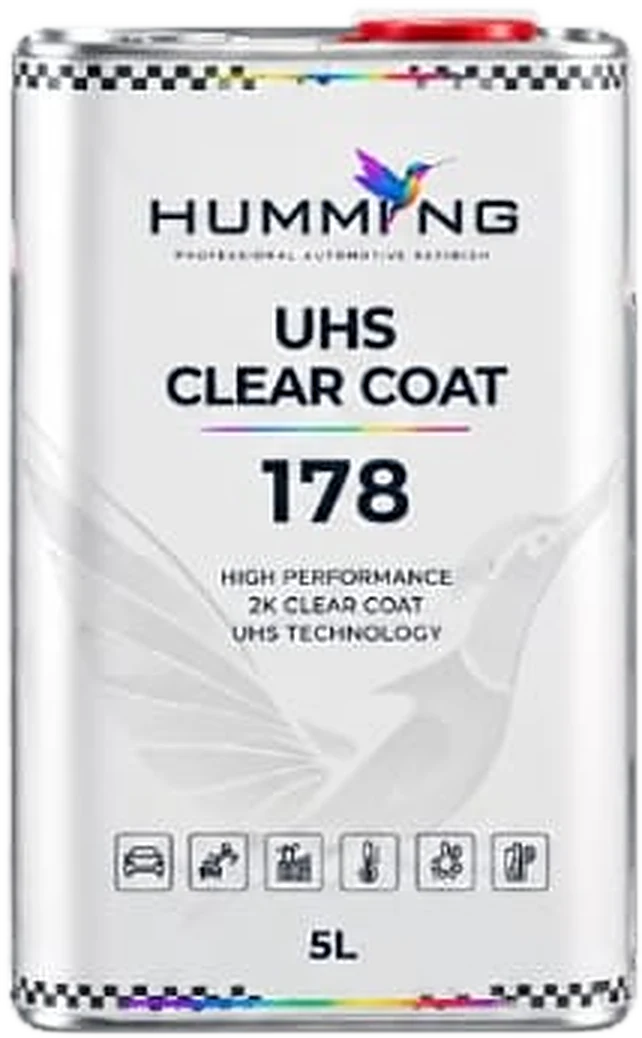
At Humming, the UHS 178 clear coat (1 L and 5 L) is designed to work with the 301 hardener and the 501 thinner: keep these three together and follow the technical data sheet for the ratios. For application, the HVLP gravity-feed gun with a 1.3 mm tip (MEL-109), the MEL-106 graduated cups, the MEL-101 strainers and the PRE-101 tack rags complete the set-up. Your Humming distributor can supply the lot and send you the latest technical data sheets.
The values given here are workshop guidelines. The product's technical data sheet always takes precedence.